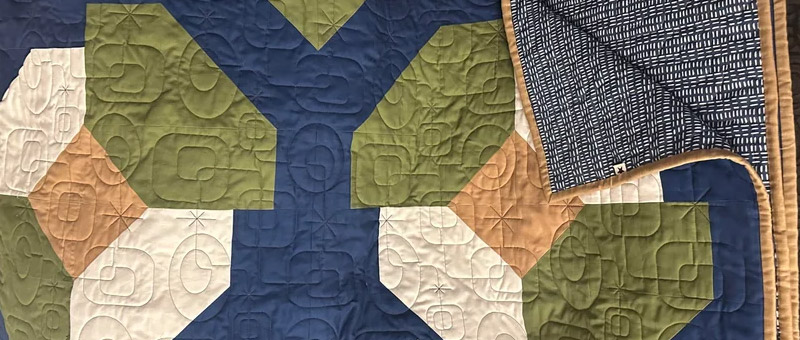
Whether you’re preserving a family memory, personalizing a gift, or just looking to add some flair to your next quilting project, custom patches are a fun and creative way to make your quilt truly one-of-a-kind. Learning how to make a patch for a quilt all by yourself can be a rewarding process, but if you’re short on time, want a professional look, or need a large batch, American Patch can create your custom quilt patches for you. Here is a step-by-step guide on how to make a patch for your quilt, if you want to take on this take all by yourself.

Tools & Materials Needed
Before you begin, gather the following supplies.
- Fabric (twill, cotton, or felt works best)
- Stabilizer or iron-on fusible backing
- Embroidery thread or fabric markers/paint
- Scissors or rotary cutter
- Needle or sewing machine
- Iron (for fusible backing or vinyl)
- Pencil or fabric chalk (for sketching your design)
- Template or stencil (optional for shapes)
- Fabric glue (optional, for no-sew application)
If you’re missing any of these or want a simpler option, American Patch can handle the design, stitching, and finishing, so no tools or materials are required on your end.
Step 1: Choose a Design
Start by deciding what you want your patch to represent. It could be a family name or monogram, a special date or location, a meaningful symbol or quote, or a fun pattern that complements your quilt theme. Sketch your design or create it digitally. If you’d rather skip this step, American Patch has expert designers ready to help bring your idea to life.
Step 2: Select Your Fabric and Backing
Pick a sturdy fabric and pair it with stabilizer or fusible interfacing to keep the patch from fraying. American Patch offers professional materials and finish options that outlast typical DIY solutions.
Step 3: Cut the Patch Shape
Use scissors or a rotary cutter to shape your patch. Want something intricate or unique? American Patch can laser-cut your custom design with precision.
Step 4: Add the Design
You can embroider by hand or machine, use fabric paint or markers, apply iron-on vinyl, or print your design on fabric sheets. For a sharp, polished look that lasts wash after wash, professional embroidery or printing from American Patch is a great alternative.
Step 5: Attach the Patch to Your Quilt
Sew it on for durability, iron it on if using heat-activated backing, or glue it for temporary placement. Just make sure your method matches the quilt’s intended use.
Create a Custom Patch Without the DIY Hassle
Learning how to make a patch for a quilt can be a meaningful and fun creative project, but it’s not for everyone. Whether you’re short on time, lack the tools, or simply want a flawless finish, American Patch is here to help. We specialize in custom patches that are perfect for quilts, whether you’re honoring a loved one, commemorating a trip or milestone, or just adding a personal touch to your creation. We offer a variety of backing types to suit any quilt project, and with fast turnaround times, your custom patches will be ready when you are. Reach out to American Patch today for a free quote and let us help you make something truly special.
